We're lucky that most of the aftermarket brands making accessories for the CT125 have come out with a front carrier/rack, so there's plenty to pick from! Motoskill, H2c, G-Craft, Kitaco, Kijima, Takegawa, KN, etc.
I went with the Takegawa because many of the other options are heavier duty than I need, and I like the classic style and functionality of one with a spring clip as was common on older CTs.
Cost was $77.83 + shipping from Webike
Takegawa part number: 09-11-0247
Here is the instruction manual in Japanese, useful to identify that the two spacers go with the top bolts, and that the bolt torque specs are 29 Nm.
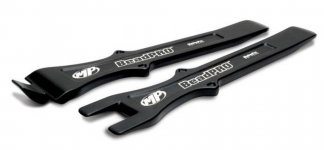
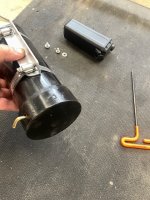
Tools/supplies used: 6mm hex bit socket, torque wrench, and blue threadlocker.

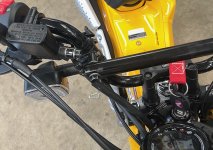
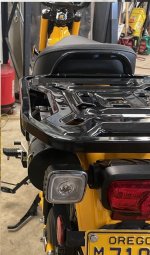
Here is the rack with mounting hardware (mine came with an extra bolt, only 4 are needed) and 2 black spacers. Threadlocker was not provided.

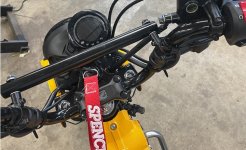
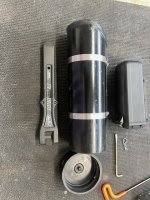
Here is a comparison of a new bolt from the kit (left), and the OE bolt (right). The rack adds quite a bit of depth that makes the longer bolts necessary.

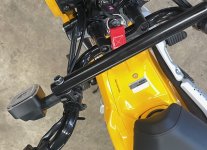
The top two mount points are recessed where the rack does not fit inside of the bolt recess, so the spacers are used to fill that gap.

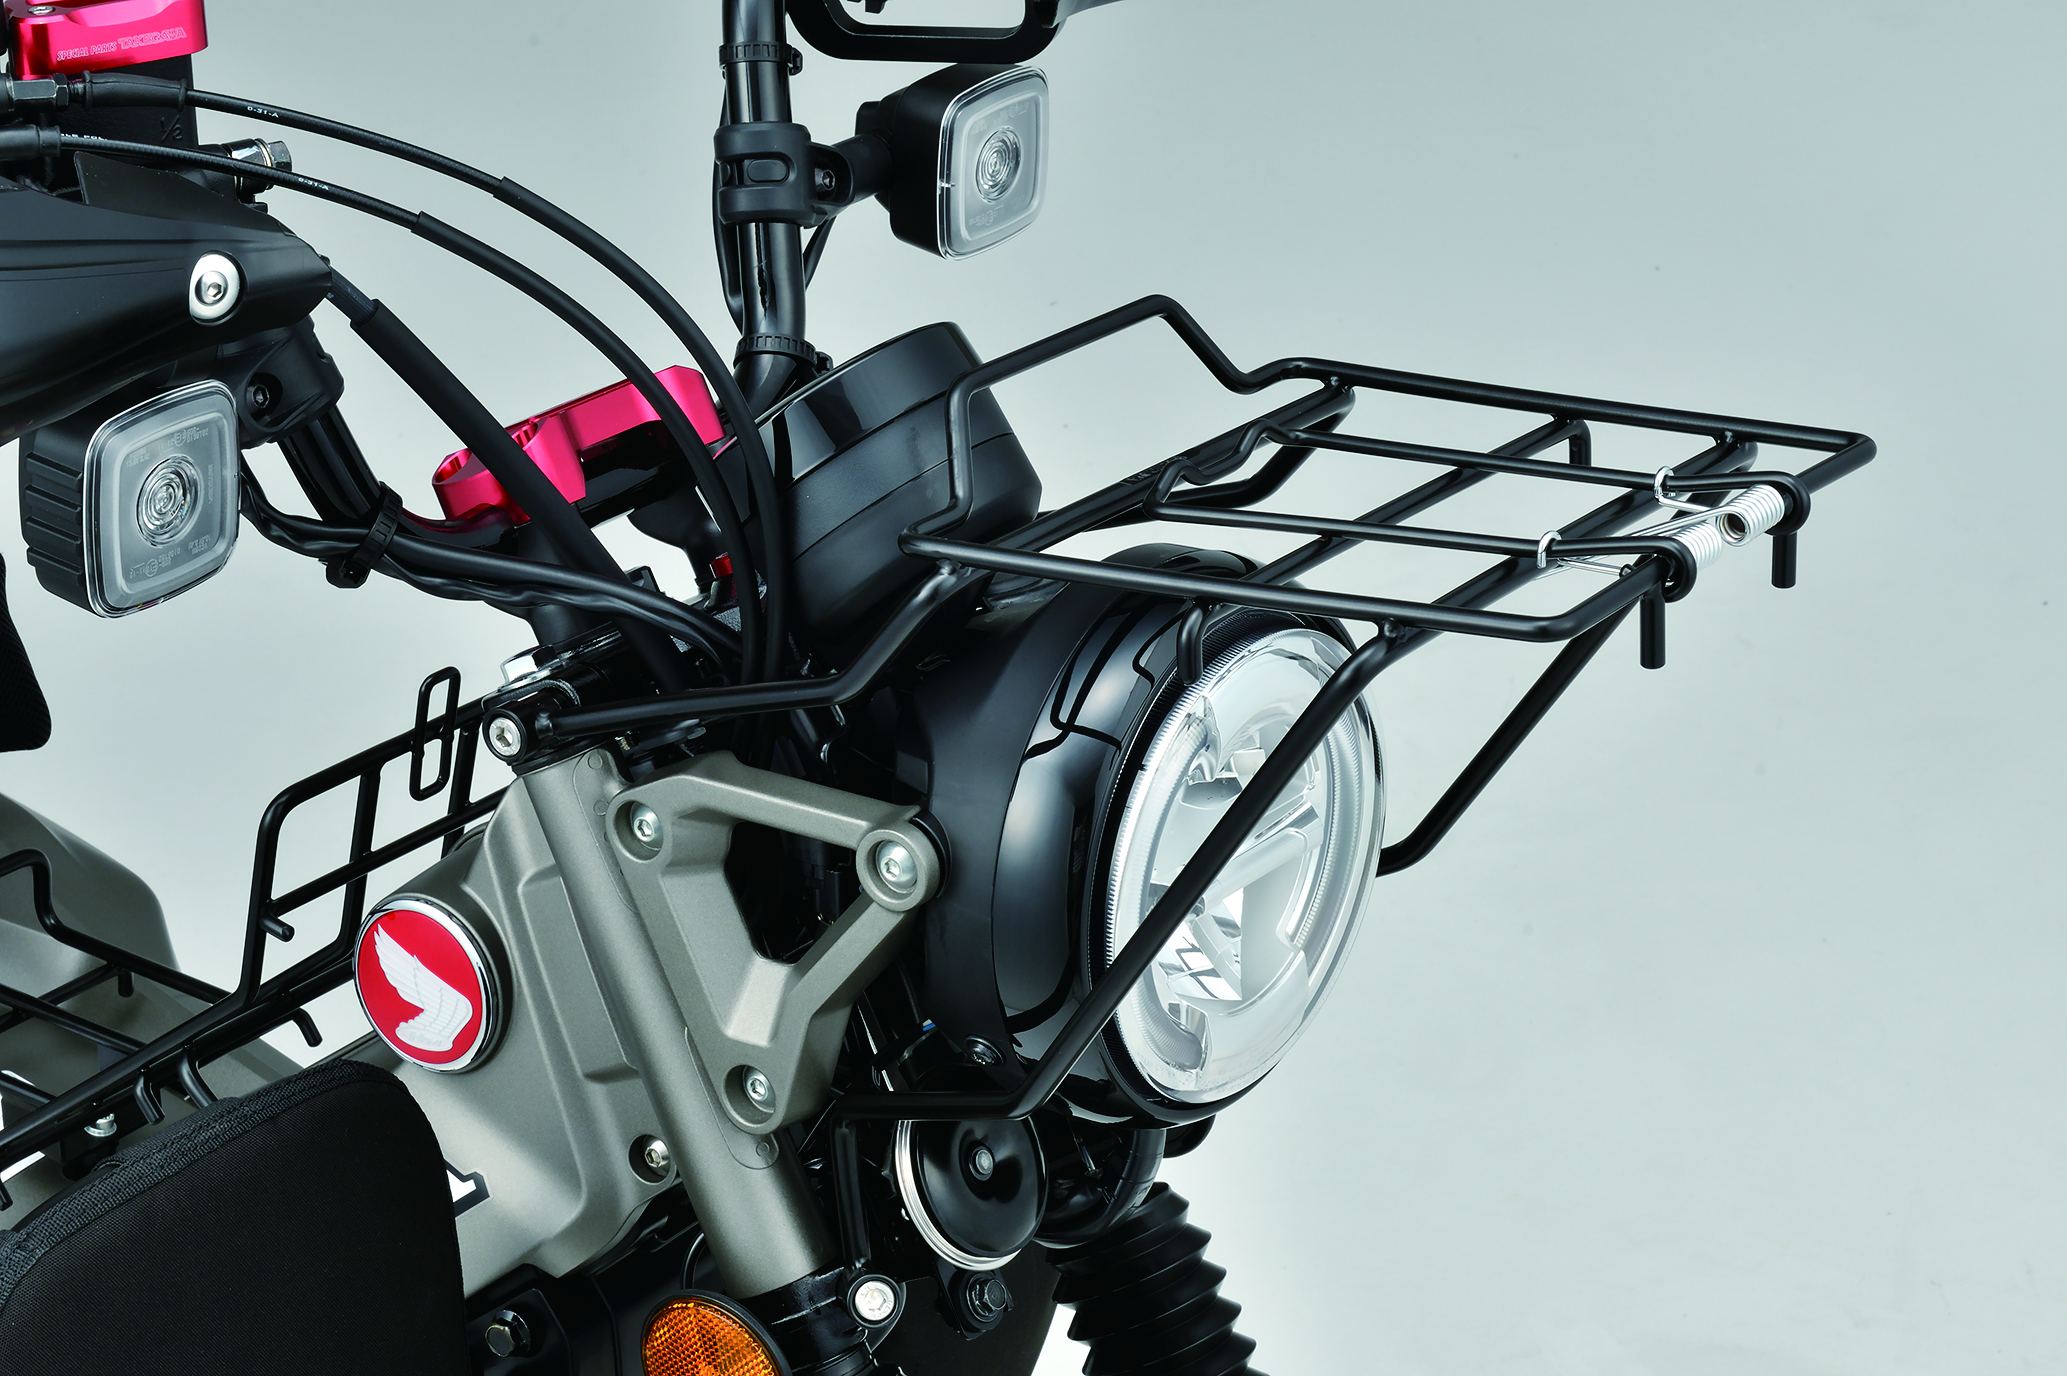
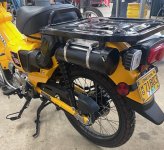
It is compatible with the Kijima headlight guard (Kijima P/N: 205-5123)


Initial observations from a weekend of riding around running errands with it:
It would have been nice if the spring was also black, but that would likely chip off unless it was powder coated or some other method of painting suitable for springs. The spring rattles a bit when going over larger bumps if you don't have anything under it, and it is starting to wear on the paint where it makes contact with the rack. I might wrap that contact area in black vinyl tape to lessen the noise and give it something else to wear through before the paint. The spring feels like a medium tension and can open to around 90 degrees. So far I have been using it to hold my hat while I am riding with my helmet on, and to hold my gloves when I am parked. The headlight sticks out farther than the bottom of the rack triangle when looking at it from a side profile. There is a Takegawa branding on the top of the rack but it blends in well. It is easy to reach the rack and operate the spring while at a stop and sitting on the bike.
Overall I can say I would buy this front carrier again. It has solved the issue of me stashing my stinky elkskin gloves inside of my helmet when parking somewhere, and it provides a quick and secure spot to keep my hat while riding. I've already got ideas of strapping my tool roll to the rack on adventures, or my waterproof map pouch.
2024.03.27 Update: This is now an accessory sold through Honda in Japan. Honda part number: 0SS-ZN-09110247
I went with the Takegawa because many of the other options are heavier duty than I need, and I like the classic style and functionality of one with a spring clip as was common on older CTs.
Cost was $77.83 + shipping from Webike
Takegawa part number: 09-11-0247
Here is the instruction manual in Japanese, useful to identify that the two spacers go with the top bolts, and that the bolt torque specs are 29 Nm.
Tools/supplies used: 6mm hex bit socket, torque wrench, and blue threadlocker.
Here is the rack with mounting hardware (mine came with an extra bolt, only 4 are needed) and 2 black spacers. Threadlocker was not provided.
Here is a comparison of a new bolt from the kit (left), and the OE bolt (right). The rack adds quite a bit of depth that makes the longer bolts necessary.
The top two mount points are recessed where the rack does not fit inside of the bolt recess, so the spacers are used to fill that gap.
It is compatible with the Kijima headlight guard (Kijima P/N: 205-5123)
Initial observations from a weekend of riding around running errands with it:
It would have been nice if the spring was also black, but that would likely chip off unless it was powder coated or some other method of painting suitable for springs. The spring rattles a bit when going over larger bumps if you don't have anything under it, and it is starting to wear on the paint where it makes contact with the rack. I might wrap that contact area in black vinyl tape to lessen the noise and give it something else to wear through before the paint. The spring feels like a medium tension and can open to around 90 degrees. So far I have been using it to hold my hat while I am riding with my helmet on, and to hold my gloves when I am parked. The headlight sticks out farther than the bottom of the rack triangle when looking at it from a side profile. There is a Takegawa branding on the top of the rack but it blends in well. It is easy to reach the rack and operate the spring while at a stop and sitting on the bike.
Overall I can say I would buy this front carrier again. It has solved the issue of me stashing my stinky elkskin gloves inside of my helmet when parking somewhere, and it provides a quick and secure spot to keep my hat while riding. I've already got ideas of strapping my tool roll to the rack on adventures, or my waterproof map pouch.
2024.03.27 Update: This is now an accessory sold through Honda in Japan. Honda part number: 0SS-ZN-09110247
SP武川 フロントキャリア (23YM CT125・ハンターカブ): 純正アクセサリー・カスタマイズパーツ|HondaGO BIKE GEAR
SP武川 フロントキャリア (23YM CT125・ハンターカブ)
hondago-bikegear.jp
Last edited:


")


![20240718_152428[1].jpg](https://hondatrail125.com/data/attachments/10/10030-f7c72e5a77ccdb3544bafd32c331941d.jpg "20240718_152428[1].jpg")
![20240718_152400[1].jpg](https://hondatrail125.com/data/attachments/10/10032-71fa5f8cdece9a37dfa946189f8df94c.jpg "20240718_152400[1].jpg")
![20240718_152339[1].jpg](/data/attachments/10/10033-46e5036f4150b97b185a14fb575eb9cb.jpg)